
Do you want to design a custom landing page in WordPress to run Facebook ads? The right landing page helps encourage audience from your Facebook ads to take action, and convert them into product sale and customers. In this article, we’ll explain how to create a high converting landing page for Facebook ads in WordPress.
What is A Landing Page?
Landing page (also known as a standalone web page or squeeze page) is a special web page, which is specially designed for marketing and advertising campaigns.
In other words, with the help of a landing page, your visitors land on that specific page when they click on a link in an email, or ads running on Google or social media platforms such as Facebook , Twitter, Instagram, LinkedIn, or other similar places on the web.
It is a great option to convert visitors into leads and product sales.
Landing Page Benefits:
A landing page is important for your business, if you use it to get more leads or product sales. It may have following benefits:
- A landing page fully supports your business and business goals.
- With the help of using a landing page, you can increase the sale of your products. Along with this, you can also generate leads.
- You can increase your e-mail list using a landing page.
- With the help of landing page, you can run a digital campaign for your product and brand, which will help increases the awareness of your brand to a great extent.
Landing Page vs Website:
Landing Page:
- A landing page is a single standalone page.
- It supports your business goals.
- Landing page is specially created for product sale, free coupons, free trial or free e-book to attract the visitors.
- In a landing page, the user visits for a specific action.
- You can do better designing in landing page.
- Landing page is used for the presentations of any product.
- You can generate responsive leads for your key sale from the landing page.
Website:
- Website is a collection of many interconnected web pages.
- Generally, there are many multiple pages, posts and links in a website.
- Multiple pages in a website are interlinks to each other.
- Website is used to provide more than one service like — customer support, online marketing or online education, etc.
Why Create a Facebook Ads Landing Page in WordPress?
As we’ve already told, a landing page is a squeeze page, created for a specific purpose and high conversion rates. And, if you’re running Facebook ads, you will definitely want visitors to respond to your ads so that they can convert into sale and customers.
In such as situation, you’ll need a landing page. A high converting landing page will match the design, tone, and content of your ad. It will convey a message that encourages the user to act now.
Using a landing page, you can use images and video to provide detailed information quickly. In addition, you can give CTA (call to action) button, social proof such as reviews and testimonials to demonstrate why other people love your brand or business.
Now, let’s know how to create a high converting landing page for Facebook ads in WordPress.
How to Create a Facebook Ads Landing Page in WordPress:
To create a landing page, first, you need to install and activate the SeedProd WordPress plugin.
SeedProd is one of the best WordPress plugin, which helps allow to create any type of landing page easily without any coding or design skills.
In this article, we will use its pro version as it gives more powerful features. If you want, you can also use a free version of SeedProd.
Once you active this plugin, you’ll see an interface something like shown in the below screenshot where you’ll need to enter your license key. You can find verification key related information under your account on the SeedProd website.
Now, enter your license key, and click on the “Verify key” button.

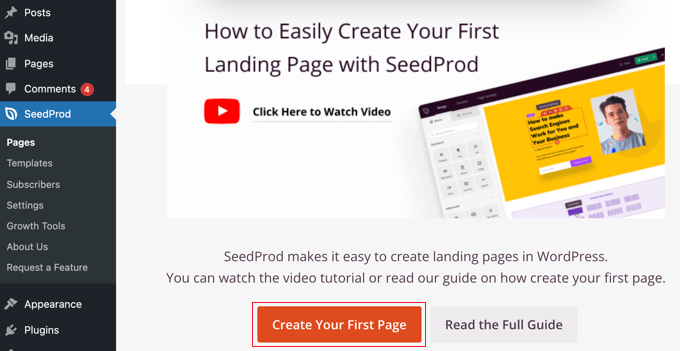
Now, scroll down and click on the “Create Your First Page” button to get started.
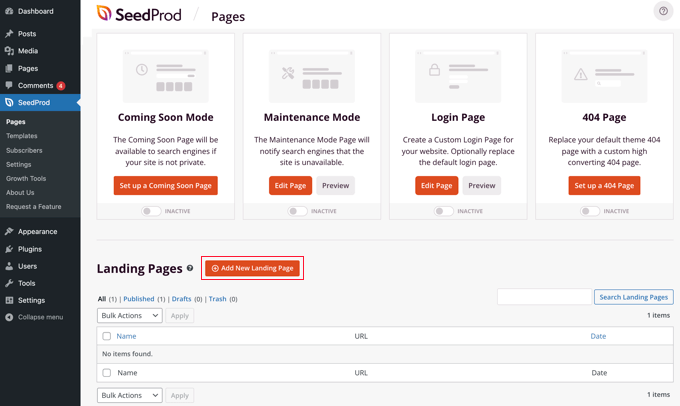
Once you click this button, it will take you to an another page. Here, you’ll see a plenty of options, simply click on the “Add New Landing Page” button to get started.
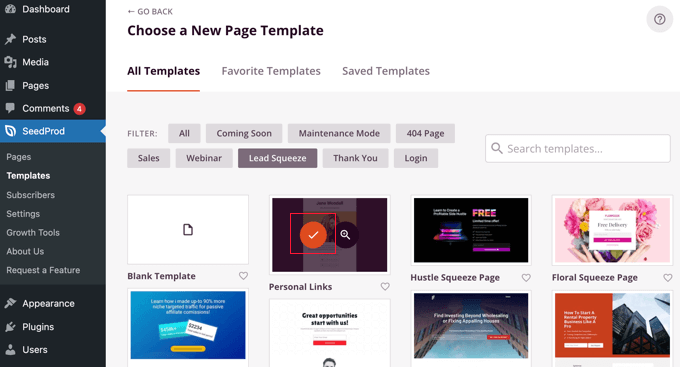
Now, choose a template you want to use for your landing page. SeedProd WordPress plugin comes with dozens of landing page templates that really seem beautiful and perfect for different campaign types.
You can filter landing page templates by clicking one of the tabs visible on the top, such as ‘Coming Soon, ‘Maintenance Mode’, or ‘Lead Squeeze’.
Hover over a template and preview it by clicking the magnifying glass icon as shown in the below screenshot. Now, select a template by clicking the red tick icon.
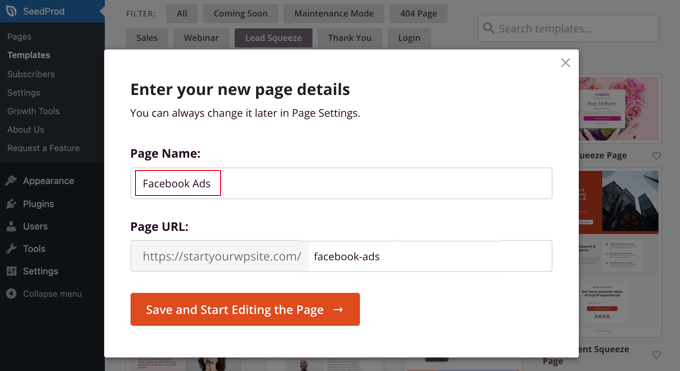
When you select a landing page template, you’ll need to give a name to your page.
The page URL will be filled in automatically, but you can change it. Here, you’ll need to add this specific URL to your Facebook ad later.
Next, click on the “Save and Start Editing the Page” button.
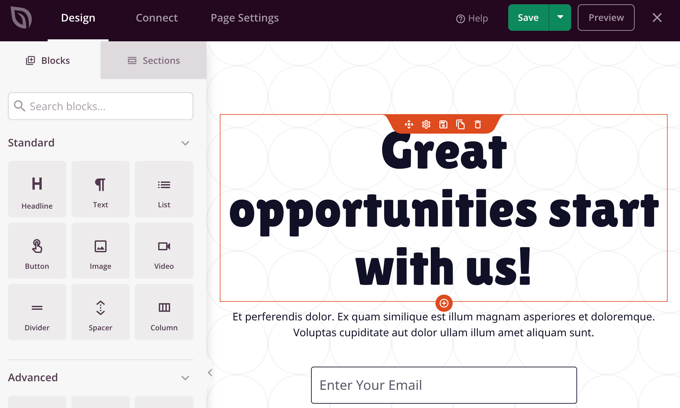
Once you click this button, it will take you to the SeedProd drag and drop page builder as shown in the screenshot below.
Here, you’ll see plenty of options that help you add content to your landing page. Using it, you can add headline, text, list, button, images, or video. In addition, you’ll also see a preview of how your landing page will look.
To create a high converting landing page, you’ll need to customize it according to your Facebook ad.
If you want to change something, you can do it in the preview pane by simply clicking on it. Add or remove blocks using drag and drop.
Now, click on the ‘headline’ section, so that you can edit it according to your ad. Delete the existing text and type in your own. (refer below image)
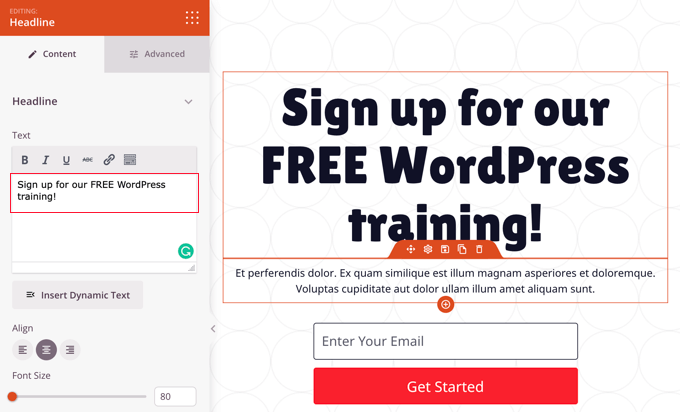
When hover over, you will see a formatting toolbar just above each box. It gives many options such as text alignment, font size, and more.
You’ll find plenty of formatting options in the Advanced tab, including typography, text color, background color, styling and image, position, spacing, and device visibility.
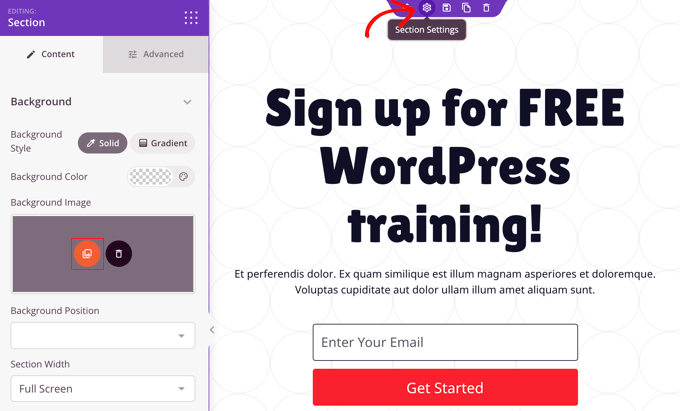
If you want to add a different background image to the top of the landing page, you’ll just need to move your curser to the top of the preview pane. Now, click on the cog icon to display settings for that particular section.
You can also change the background image that best fits to your Facebook ad. For this, simply click the red background image icon to open your media library. Here, you’ll need to select or upload the background image for your landing page.
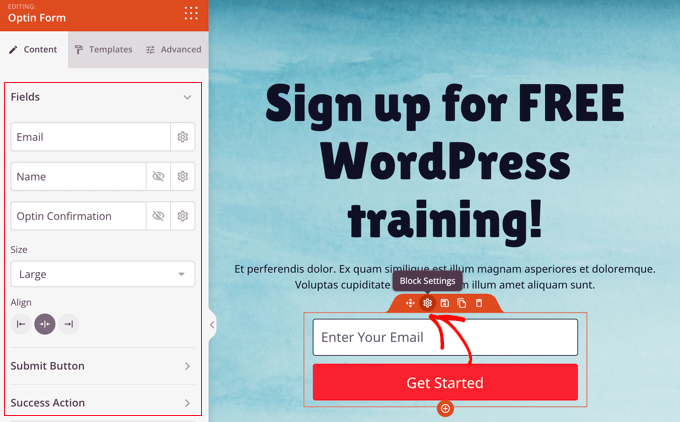
SeedProd also enables you to customize the optin subscription box as shown in the screenshot below.
For this, you just need to hover your curser over the email address section. Now, click the cog icon to display the settings for that particular block.
Now, you can customize the optin configuration field, size and alignment of the box. You can also change the size and color of the “Submit Button” and can customize the “Success Action” settings.
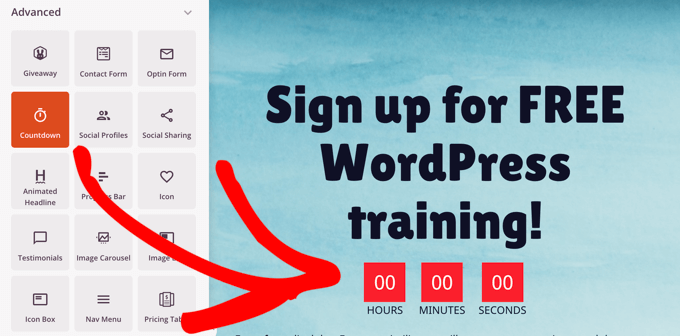
If you’re providing an offer for a limited time period, then you can also add a countdown timer. (refer below image)
For this, simply locate the ‘Countdown’ block and drag it onto your landing page.
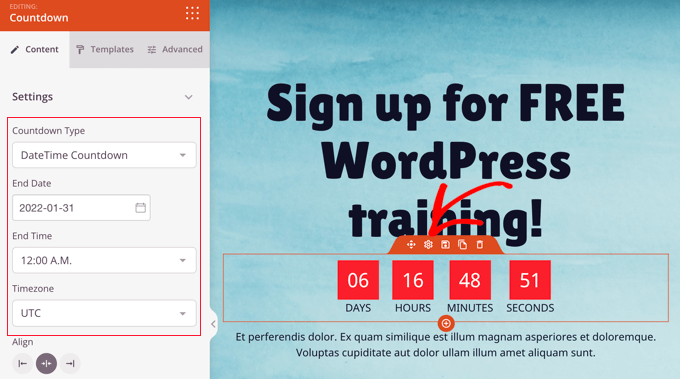
Next, you’ll need to set the expiration period such as date and time. Here, once again click on the cog icon to enter the settings of that block. Now, pick the desired date and time for the offer.
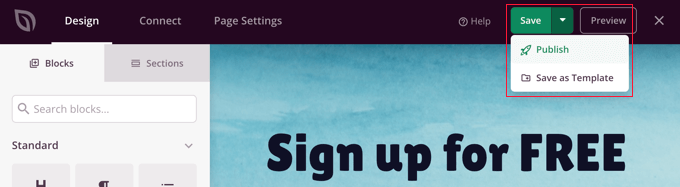
Now, if you think that your landing page meets the requirement and is perfect for Facebook ads, then it’s time to publish it.
Click the drop down menu button next to Save and then click on “Publish” button as shown below.
How to Link Your Facebook Ad to Your Landing Page:
Now, your landing page is published and ready for use. Next, you’ll need to add your landing page URL to your Facebook ad.
Now, login to your Facebook dashboard and then go to your Facebook page.
Here, you can create or edit your Facebook ad. To create a new Facebook ad, head over to the “Ad Center” and click on the “Create Ad” button.
If you want, you can also access your existing Facebook ads by clicking on “All ads”.

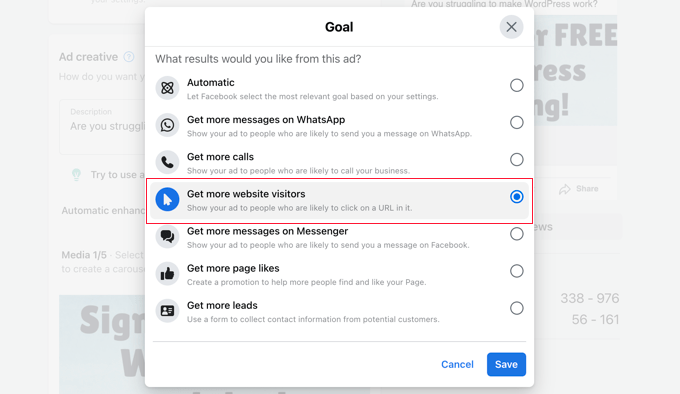
At the top of your Facebook ad, you will find a section — “Goal”, saying “Get more website visitors”.
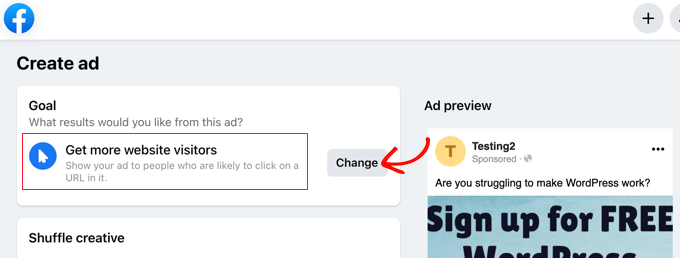
If it doesn’t, then click the “Change” button to adjust it. Here, you have to select “Get more website visitors” from the list as shown below. Now, click on the “Save” button.
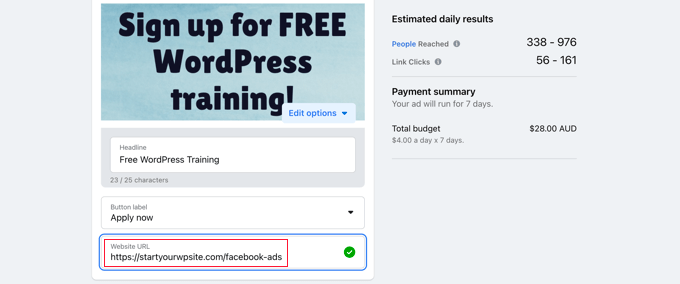
Next, when you scroll down, you will see an option — “Website URL”. Here, you just need to enter your landing page URL that you’ve made.
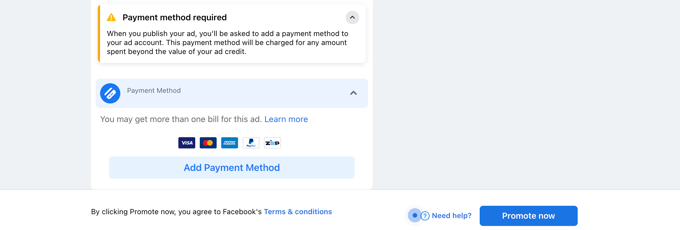
Once you’re done, you just need to select a payment method. Now, click on the “Promote Now” button to push your Facebook ad go live.
Congratulations!
Your Facebook ad is now live.
Take Away
After reading this article, you must come to know that what is landing page and what is the difference between a landing page and website. At the same time, you’ve learned that how to create a Facebook ads landing page in your WordPress website.
We hope this article will prove to be helpful in creating a landing page for Facebook ads in WordPress. If you liked this article, then don’t forget to share it with others.
Related Articles: